How to Schedule Events
In order to start creating new events, you need to click on the button named Wine Tastings located in the nav bar, on the top right corner of the server user interface.

After clicking on the button, you will be presented with the following screen:
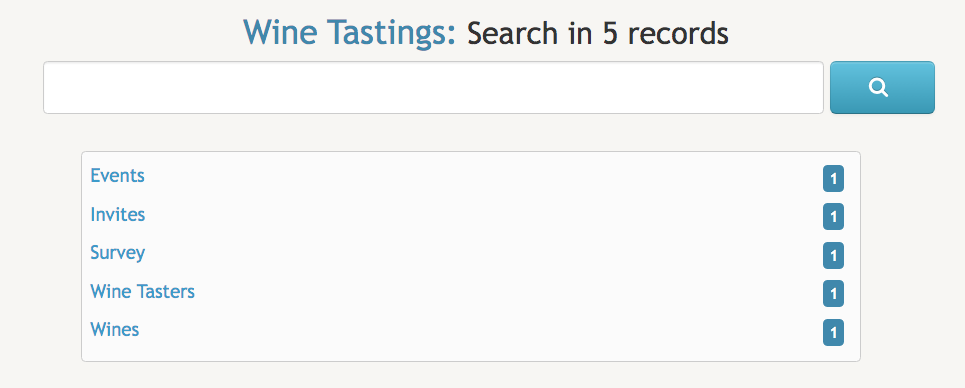
If this is the first time you access that screen, it is likely that Wine Tastings will not include any data records - in other words, there will be no events, invites, surveys, wine tasters nor wines indexed in this database.
To create a new Event, you need to click on the Events title inside that text box.
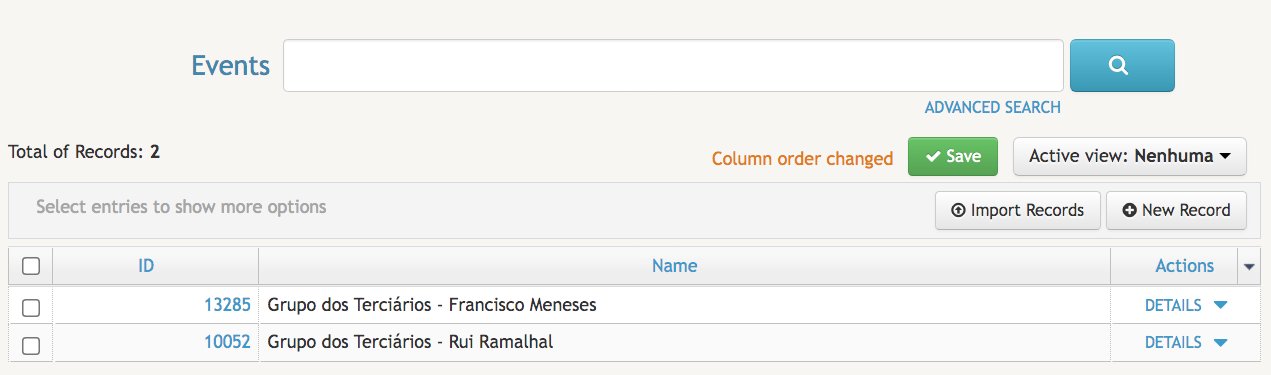
Once in the Events page, you will see an interface very similarly to the one included in the image below:
Any events you or anyone else with access to Wine Tastings have already created will be immediately listed here. If there are no events created, the listing will be empty.
Next, click on the  button located on the right of the screen.
After that, you are ready to start adding the required information for creating your event.
Since the fields have already been created for your, you just need to fill the form. Do be aware that all fields with a red asterisk - * - next to them are mandatory. Start by filling the Nameof the Event. Because this field will always appear prominently in the search results whenever a wine taster searches for it, the Name must be a unique word or group of words.
Next, you will need to fill the Date & Time field. Here you can either fill this field by typing a full date in the format DD/MM/YYYY hh:mm:ss - for instance, 14/10/2021 20:00:00 - or you can select a date and an hour with the help of the embedded calendar and hour schedule.
After that, you will need to fill the Location field with the geolocation coordinates - latitude and longitude - of the event location. In the example included below we used the coordinates 38.75318, -9.14471.
Finally, in the Organizer field, you just need to type your name - if you are organizing the event all by yourself - or the name of all the individuals or organizations that are involved in its organization.
After filling all the fields, the result will be similar to the one described below:

If you look carefully, you will see that in lower half of that screen there is a box reserved for Surveys and another for Invites. These boxes will only become fully functional after you have saved your new event. Once you do that, the Surveys box will enable you to check the results of the surveys already submitted and the Invites box will allow you to send invites to guests - Wine Tasters - previously added to the database. But for now click Save - you will be automatically redirected back again to the Events listing.
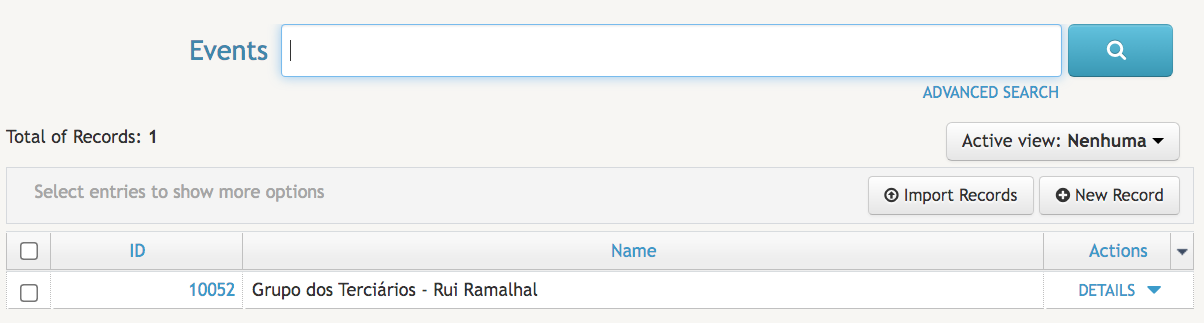
You will soon notice that the event you have just created has been added to the listing.