How to Add Guests
To start adding guests to the event you just finished creating, you need to click again on the Wine Tastings button located in the nav bar, on the top right corner of the server user interface.

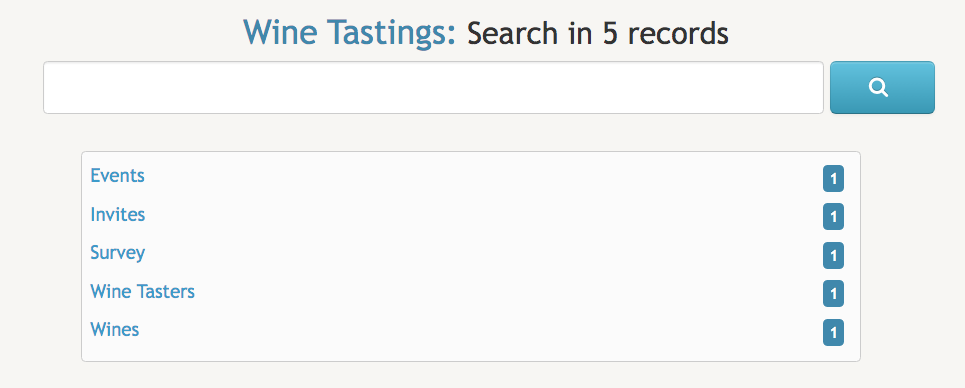
Once in the Wine Tastings screen, you need to click on the Wine Tasters title inside the text box:
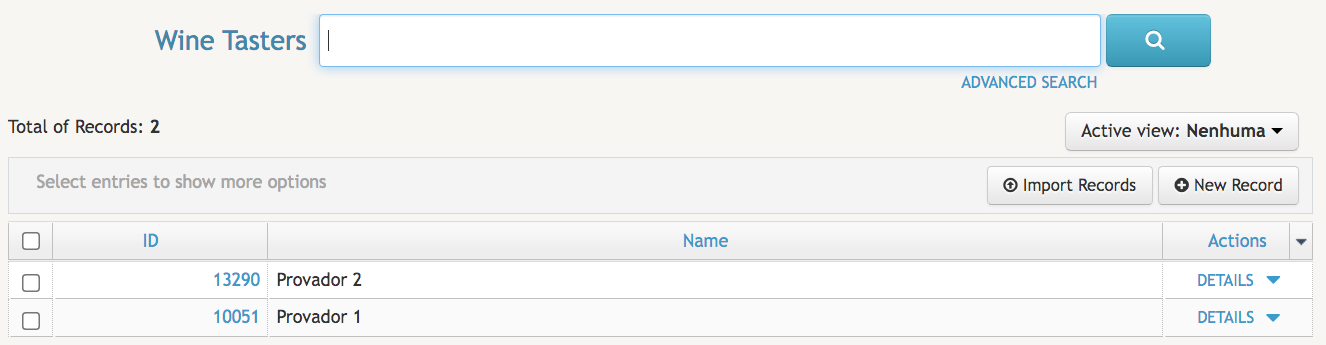
Once in the Wine Tasters page, you will see an interface very similarly to the one included in the image below:
Any guests you or anyone else with access to Wine Tastings have already added to the database will be immediately listed here. If no guests have been added, the listing will be empty.
Next, click on the  button located on the right of the screen.
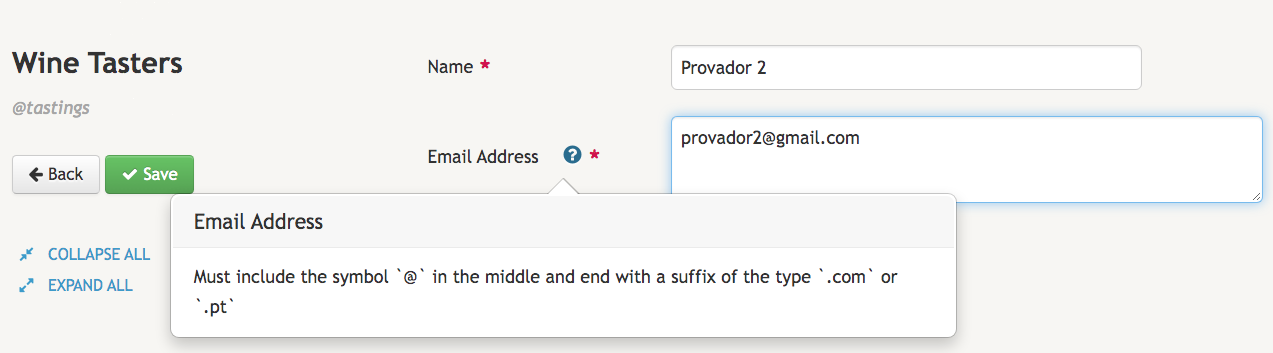
After that, you are ready to start adding a guest to the database. All fields with a red asterisk - * - next to them will be mandatory.
Start by typing the name of the guest in the Name field. Whenever the wine taster himself/herself or anyone else searches for the guest, this data element will be featured prominently in the search results. Please be aware that you need to add a real email address with an at symbol - @ - in the middle, as you can read in the explanatory note that will appear whenever the mouse is hovered over the blue circle with the white question mark:
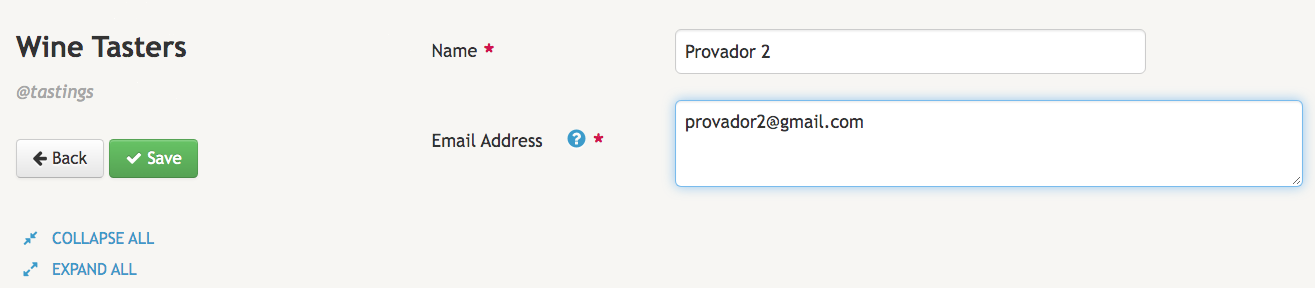
When you finish filing the form for adding a guest to your event, the corresponding data record will be similar to the following screen:
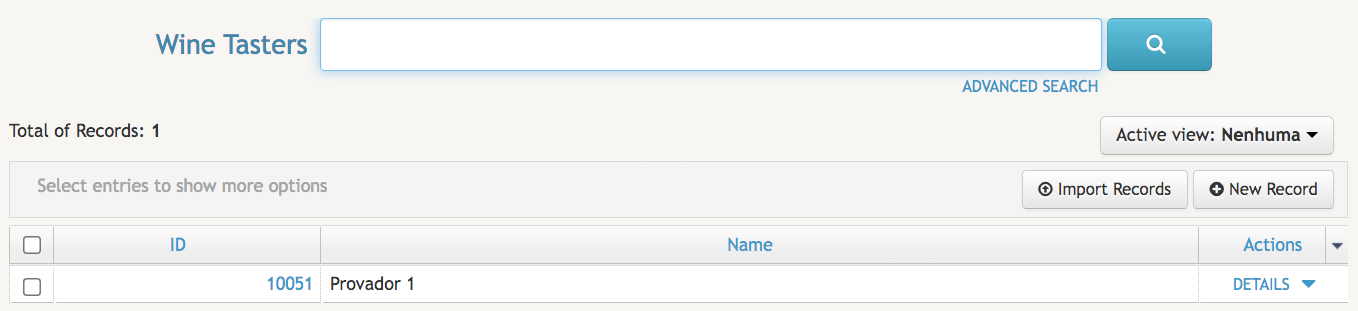
Click Save to be redirected back to the Wine Tasters listing. The guest you have just added will immediately appear in the listing: