
How to Send Invites [WiP]
After you have finished adding guests to the application, you can invite them by email via the page listing the event details. To create your first invite, you just need to click the + button located on the right of the screen within the box reserved to Invites.
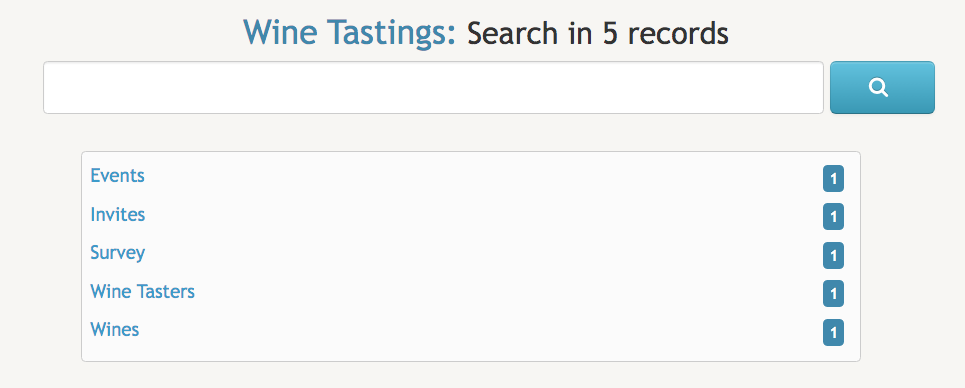
Start by clicking on the button named Wine Tastings located in the nav bar, on the top right corner of the server user interface.

After clicking on the button, you will be presented with the following screen:
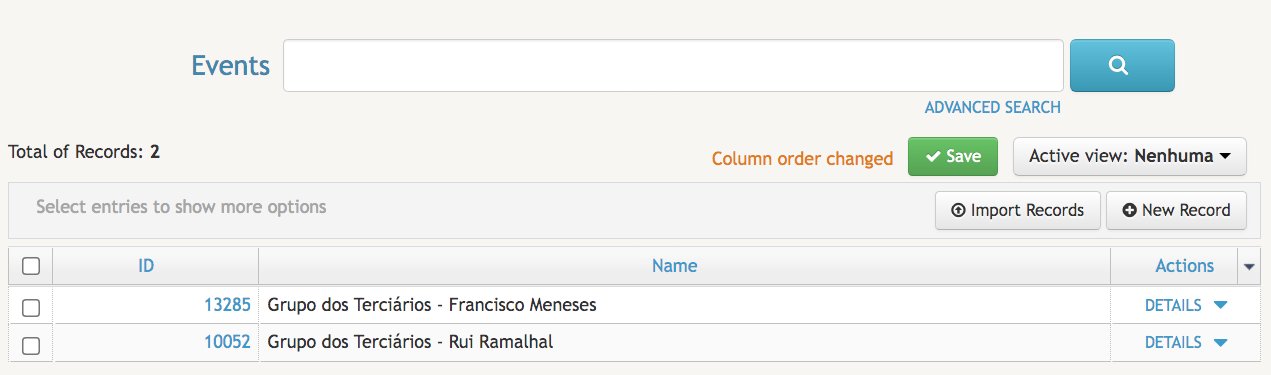
You then need to click on the Events title inside that text box. Once there, click on Details next to the name of the event you have just created.
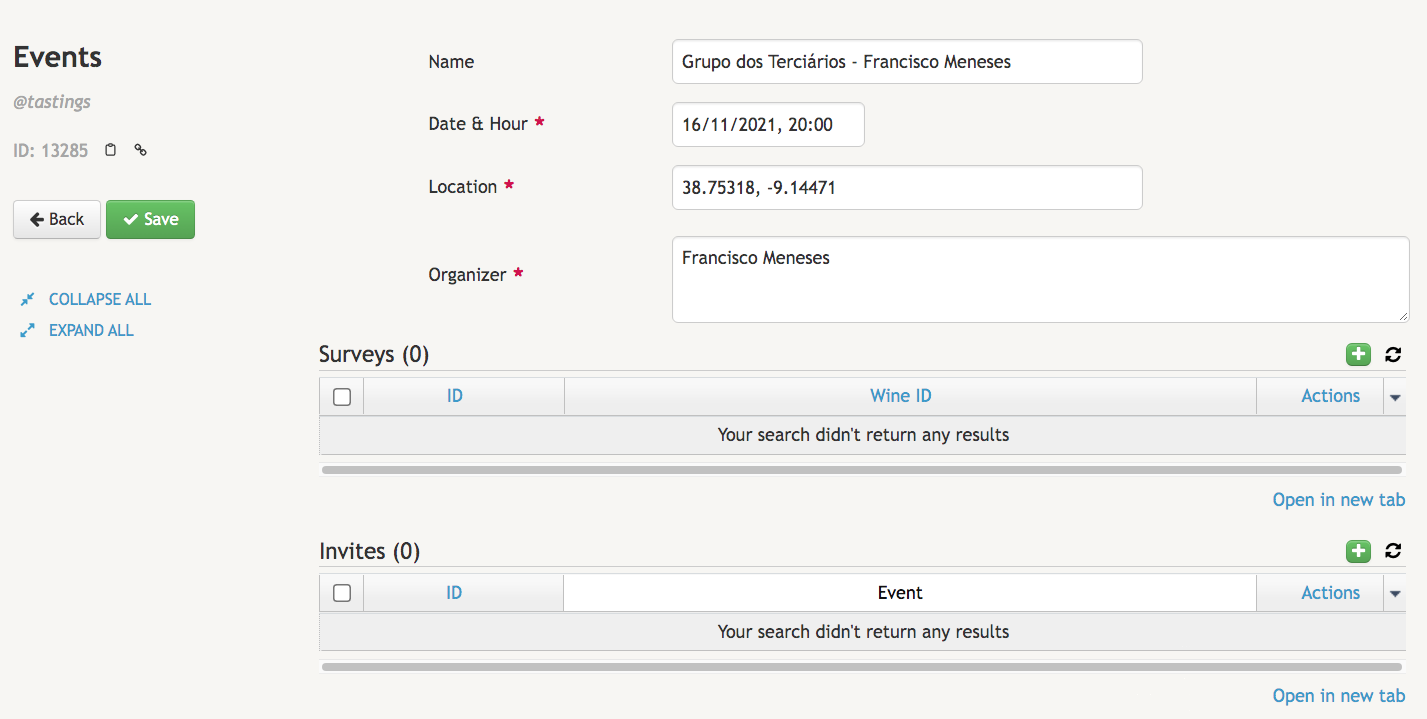
Remember the Surveys and Invites field boxes we previously mentioned? Now you can finally start sending invites to the guests you have previously added.
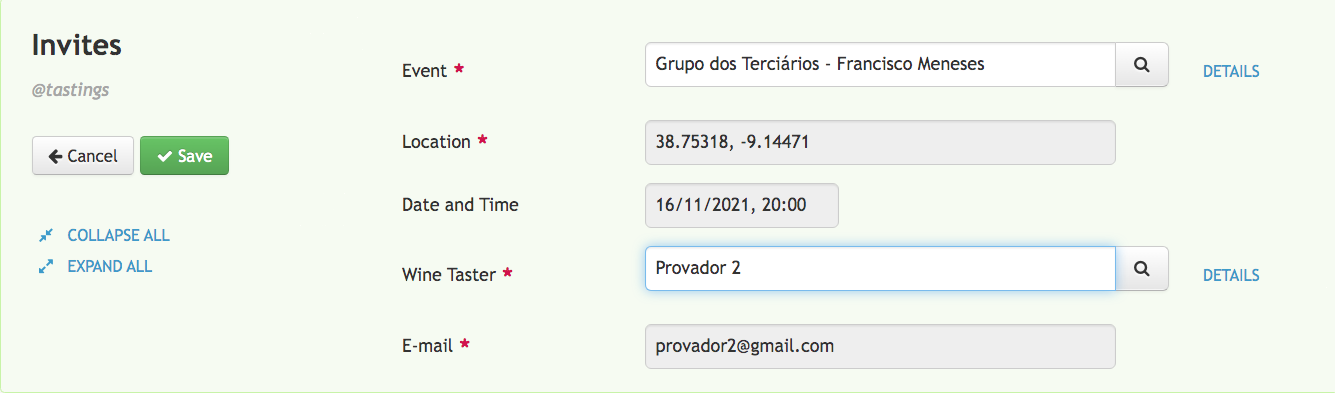
To create a new invite, click on the 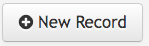 button. A form for creating and sending an invite will immediately appear. Inside the form, you will need to type the first identifying letters of the name of the
 Event in the apropriate field. Once you select the appropriate name, the Date & Time and Location will be automatically filled with the event information. After that, you just need to type the first few letters of the guest's name in the textbox reserved for filling the name of the Wine Taster. Immediately after you start typing, a list of related results will appear below the text you have typed. Select the correct name of the guest. The guest's email address will automatically appear next to the E-mailfield.
The final result will be similar to the image included below. All fields automatically filled by the application have been greyed out:
[Work In Progress]